Are you struggling to add fonts on Canva? If yes, then this tutorial is useful for you. This article will show you step by step how easy it is to add fonts into Canva.
One important thing to know about uploading fonts on Canva is that you must have a Pro account to do so.
You have two options. You can either do this from your editing page or go to your home page and click on Brand Kit.
In this case, let me show you how to do this from the editing page straight to your design. Also, get a quick overview on: How to install fonts on your PC.
Let’s dive into the step-by-step tutorial to upload fonts on Canva:
Step 1:
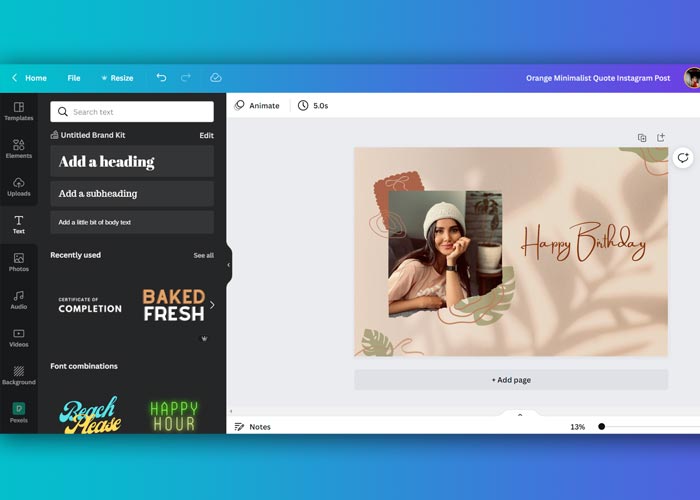
First, go to this site: Canva. Open the Template where you want to add text. Click on the text box.
Source: Pixelo
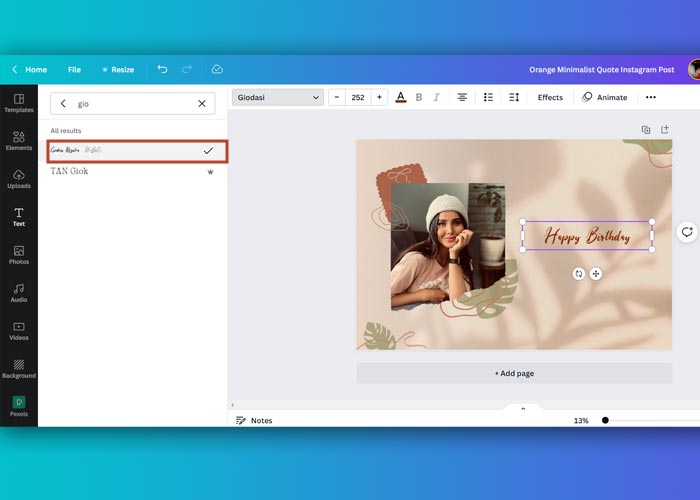
Step 2:
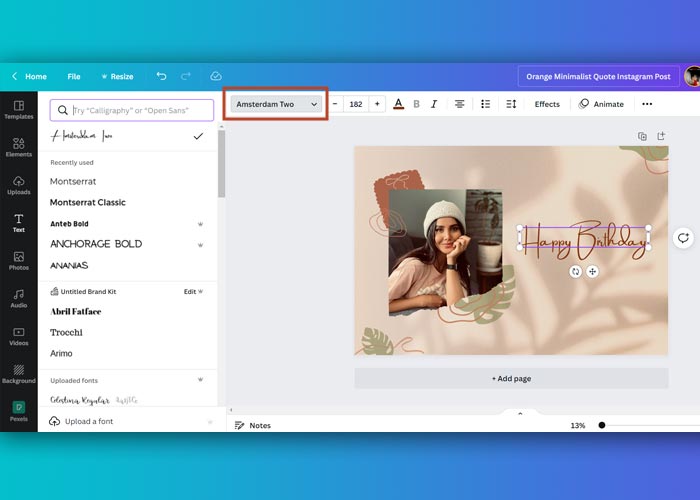
Enter your text and then go to the fonts menu on the top. Click on that and then you will scroll down and see that you have this option to upload font.
Source: Pixelo
Step 3:
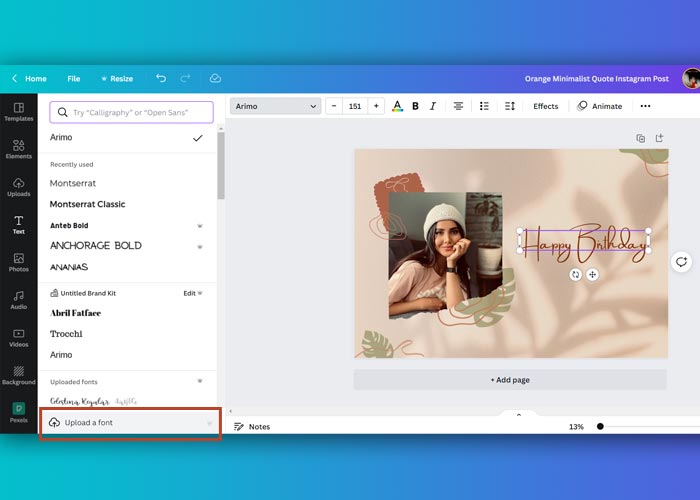
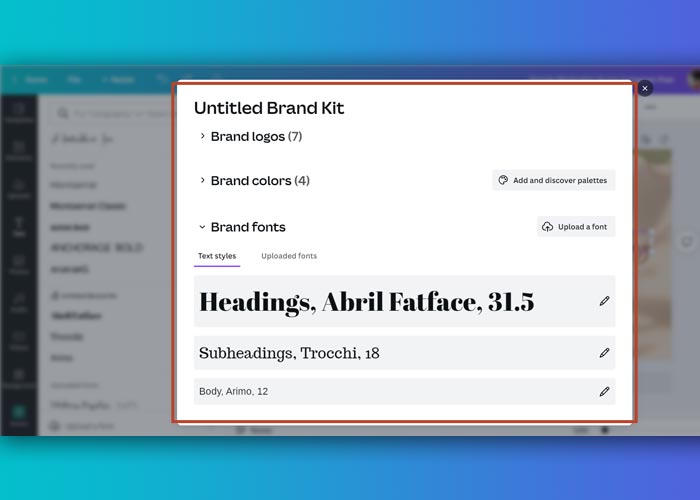
At the bottom of the font list, you will see the “Upload a font” option. Once you click on that. You will be directed to your Brand Kit. Then you will just be redirected to wherever you saved your downloaded font.
Source: Pixelo
Step 4:
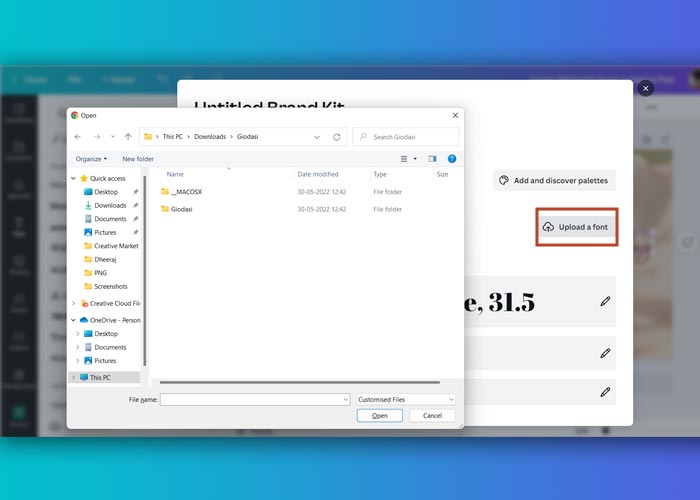
Click on upload a font.
Step 5:
Click on the ‘upload a font’ Button & you can choose your font.
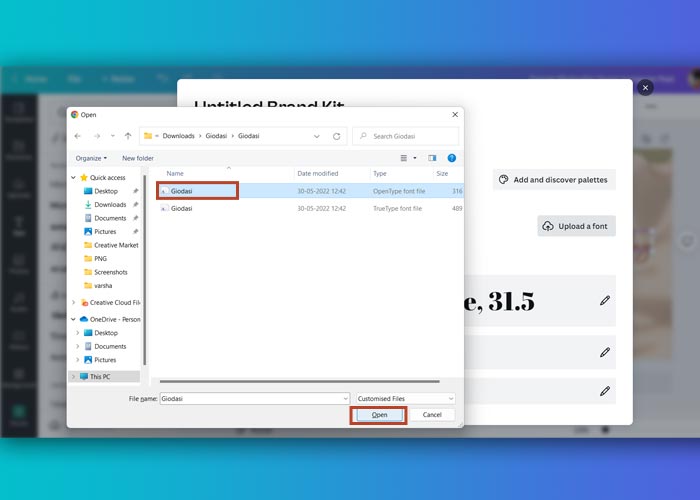
Step 6:
Select your font & click the ‘Open’ Button.
Step 7:
If you have rights to the font please click on “Yes, upload anyway!”. And it will just take a few seconds and my file will be uploaded.
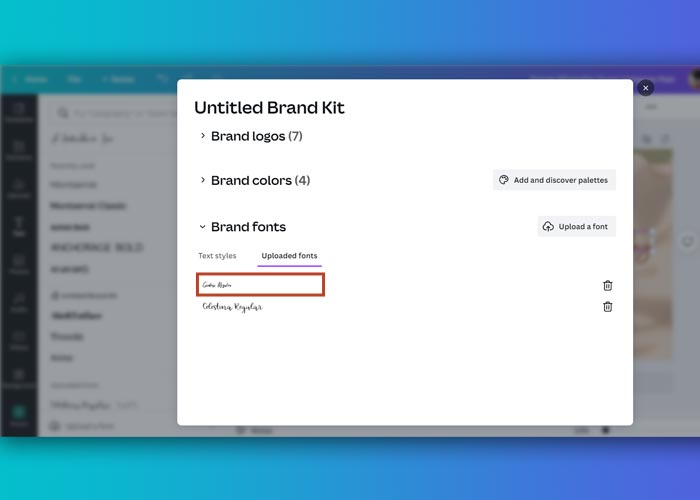
Step 8:
You will find your uploaded font in the “Uploaded fonts” list.
Source: Pixelo
Step 9:
Apply the font to your template from the font list.
Source: Pixelo
Step 10:
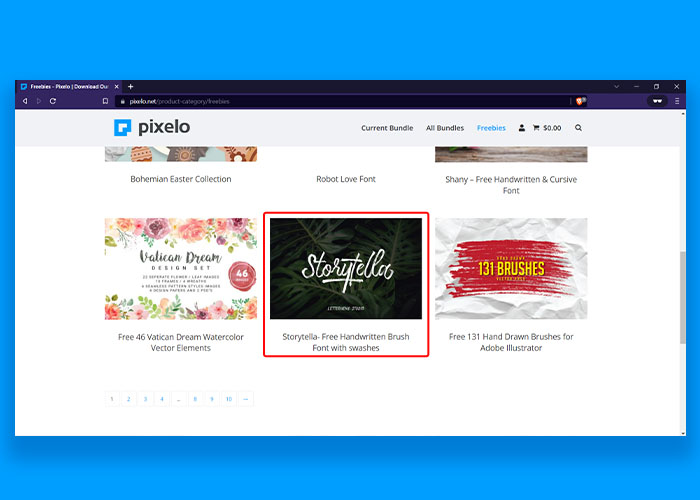
If you want more amazing free fonts for your design project, go to one of the best font sources Pixelo. Click on the “freebies” option on the top Menu.
Now the freebies page will appear. Choose any of your desired fonts. Here is the full tutorial on how to download Pixelo freebies and How to upload fonts on Photoshop.
Action Replay
Always look for your uploaded fonts on Canva below the “Uploaded fonts” section. In your design, you can find it below “Brand fonts”, as “Uploaded fonts”.
Do notice that the 3 file types that Canvas supports are OTF, TTF, and WOFF.
That’s all. If you have any questions please feel free to share them with us in the comments section below.


Leave a Reply